To a lot of people, the furniture they’ve inherited from someone is usually more than just a piece of furniture—it’s more of a family heirloom. That’s why many decide to do all in their power to restore their favorite pieces once they start looking subpar, to give them some of their original shine back.
Now, while it may seem like restoring and refinishing vintage furniture is complicated, the fact of the matter is that it’s actually not. Time-consuming—yes, but not complicated. However, you will need to thoroughly follow all the necessary steps and respect the needed timeframe for completion of a certain part before you move onto the next one. Here are some basic guidelines.

Safety Always Comes First
The first step of any project you decide to take on should always concern your own safety. Before you even roll up your sleeves and get down to business, you should make sure you have all the necessary safety equipment. Safety goggles, as well as sturdy work gloves, are the required basics pieces here. Furthermore, make sure you wear long sleeves and pants when working to protect every possible section of your skin from accidental chemical splatters and wooden splinters.
Make Sure You Have Enough Time for the Project
As mentioned before, you should also ensure that you have enough time to dedicate to the project before you begin. Keep in mind that a furniture repair project will require absolute devotion time-wise, so unless you’re absolutely sure you can handle it, it may be wiser to find genuine pros to do it for you. Having to give up on a project halfway through will only discourage you from attempting such an undertaking again.
Clean the Furniture Thoroughly
Once you’ve got all the necessary safety equipment and cleared your schedule, you can begin. First, you’ll need to clean the furniture thoroughly so that you’re able to treat it as necessary later on.
When cleaning, avoid using harsh chemicals as they can damage the piece beyond repair. Instead, find out what is the right type of cleaning solution for the particular piece you’re working on and start with that. For instance, metal furniture pieces can be cleaned with a metal polishing paste, but that same paste can be quite aggressive towards wooden furniture, so make sure you’re always using the proper solution for each material.
Alternatively, warm water and a clean cloth are usually more than enough for this step, but make sure that you dry off the piece well before you move onto the next step.
Strip It Right
Next comes the step of removing the previous finish. This step is important as the previous sealant probably already has numerous scratches and dents that are diminishing its look, so getting to a clean slate to work with is the best way to go.
When this step is concerned, avoid using sandpaper or anything similarly aggressive to avoid damaging the surfaces. Instead, you can use liquids, gels or heat for this particular task to make sure that everything is nice and even.

Final Preparations
Once the chemicals have done their magic, remove any remaining residues. Again, clean the piece thoroughly. Here, you can also use a putty knife or a stripping tool, but you need to be extra careful not to dig too deep and damage the surfaces. It is best to go slowly here, and apply the lightest of pressure for best results.
Refinish It
Once the piece is free of old finish and paint, it’s now time to treat it with a fresh coat. First, apply a good primer to prepare the surface for either paint or the finishing coat and sealant, depending on the effect you want to achieve.
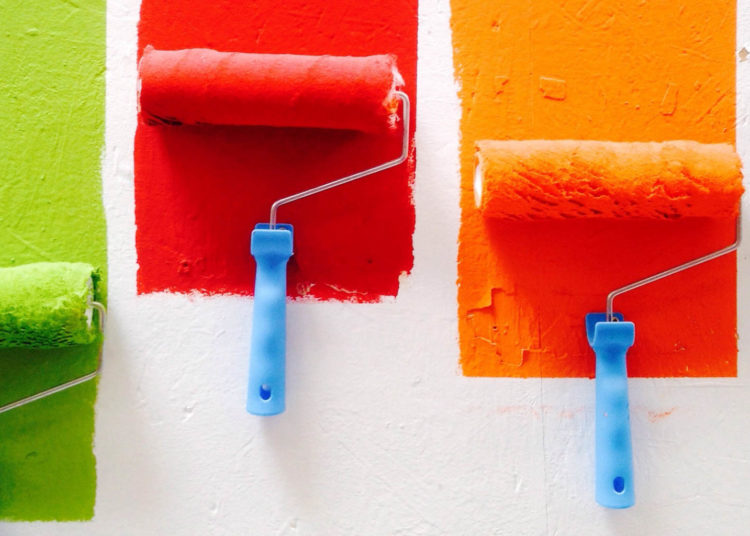
If you repaint the piece before sealing it, this will make the entire project last longer, so make sure you commit to it properly. If possible, use a small paint roller to apply either paint or the finish, because they offer a cleaner finish and reduce potential streakiness.
DIY Can Be Beautiful
If you’re considering restoring a vintage furniture piece by yourself, do know that it can require a lot of time and patience. But it will all be worth it in the end.


